Audience

The BlinkChat Audience: Managing Contacts with Ease
The audience in BlinkChat represents your contact list, where you can view all your contacts, including those automatically subscribed from new contact messages. Here are some of the features available:
Features
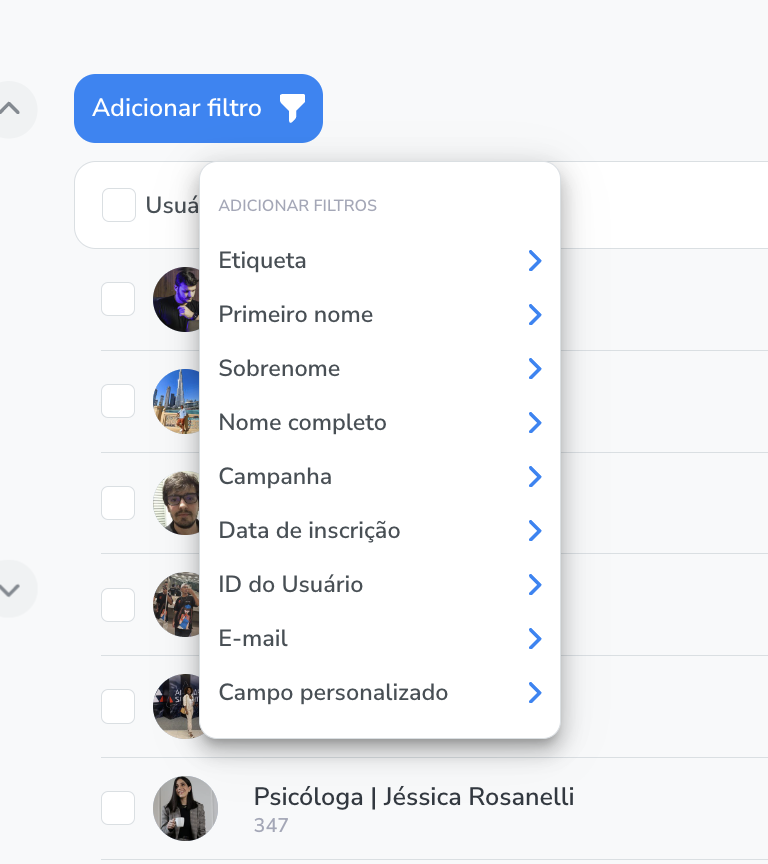
- Applying Filters: Segment your audience easily by applying filters for better contact management.
- Tag and User Fields Management: Organize your contacts by assigning tags and customizing user fields.
- Bulk Actions for Contacts: Perform bulk actions to optimize interaction with your contacts, saving time and effort.
- Popular Tags and Campaigns Check: Get valuable insights into the most popular tags and campaigns among your audience to adjust your strategy.
- Audience Contact Search: Use search to locate contacts quickly and efficiently.

Instructions
1. Audience Filters in the Conversation Bot: -> Click on the blue button with the funnel icon to select the filter you want to apply. -> In the filters window, click on the desired filter to open a screen that allows you to search or select the specific filter. -> You can apply multiple filters together or separately to refine your audience as needed. 2. Managing User Labels and Fields: -> Select a contact in the audience section to access detailed information. In the contact profile, you can add or remove tags, add or remove the user from campaigns, and edit, add or delete custom fields. -> Use the green button in the upper right corner to add a note or observation regarding the contact. -> Switching the service status between "open" and "completed" is available in the center of the contact's profile, below the profile picture. -> Check if automation is enabled or disabled and use the "Enable Automation" or "Disable Automation" button as needed. 3. Bulk Actions for Contacts: -> Select the desired contacts by checking the checkbox next to the contact's photo.
-> Click the blue "Options" button in the top right corner to access the available bulk actions. ->Available actions include adding or deleting tags, setting or clearing custom fields, and deleting contacts. 4. Checking Popular Tags and Campaigns:
-> View the most popular tags and campaigns on the left side tab.
-> Click on the name of a tag or campaign to automatically apply the corresponding filter to your audience.
-> Use the arrow icon to expand or collapse the view of the most popular options. 5. Search for Audience Contacts:
-> Use the "Search" function in the top right corner of the audience to locate contacts.
-> The search can be done by the contact's name, without differentiating between upper and lower case letters.